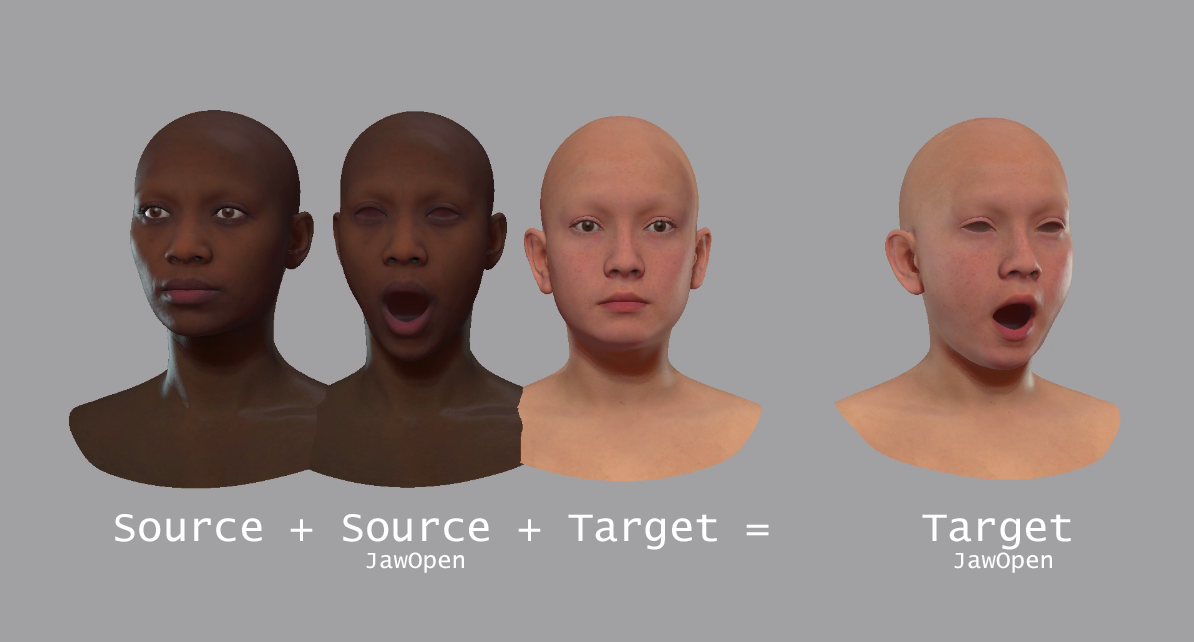
Transfer your blend shapes between meshes with the same topology.

Workflow
Installation
- Extract the content of the .rar file anywhere on disk.
- Drag the transfer-blend-shape.mel file in Maya to permanently install the script.
Usage
A button on the MiscTools shelf will be created that will allow easy access to the ui, this way the user doesn't need to worry about any of the code. If user wishes to not use the shelf button the following commands can be used. The transfer will only work if at least one vertex has no delta, these fixed vertices are used to transfer the solution to the correct position in object space, the threshold can be increased to make sure vertices are linked.

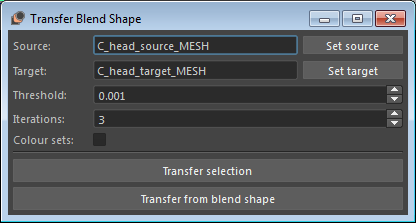
UI
When the target is set/changed either by initializing the Transfer object or via the UI the target matrix is calculated, this can be quite time consuming.

Debug Options
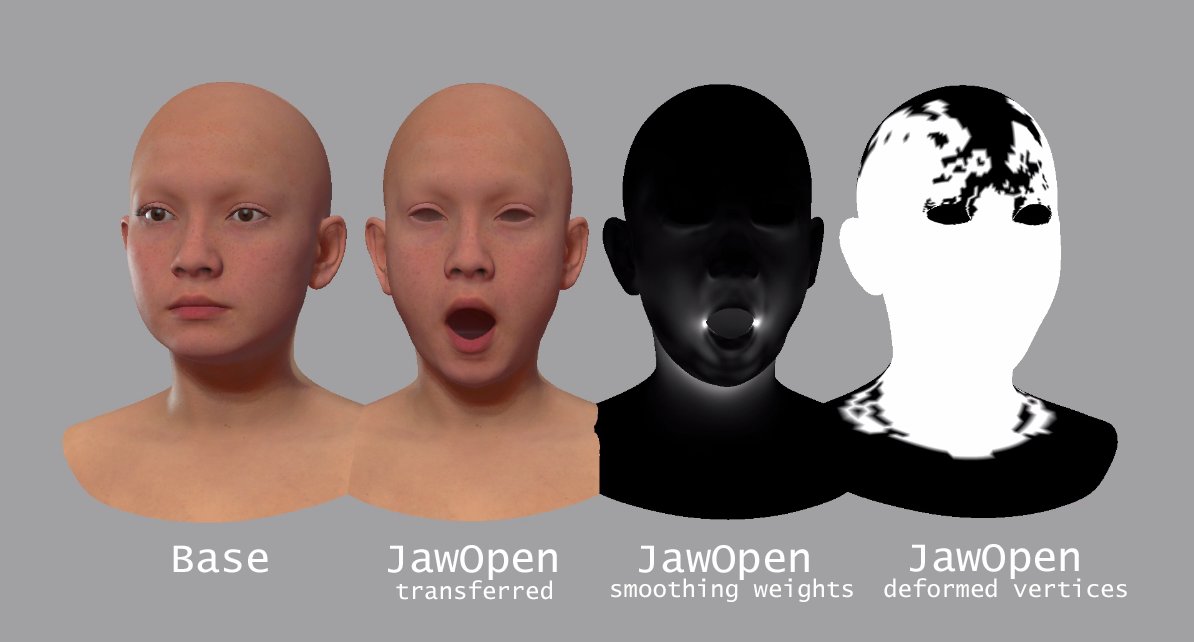
The number of iterations determine the amount of times the laplacian smoothing matrix is applied to the deformed vertices. This smoothing matrix is calculated using weights determined by area difference on a per-vertex basis.
Colour sets can be created to visualize the deformed vertices and the laplacian smoothing weights.
Command:
import transfer_blend_shape
transfer = transfer_blend_shape.Transfer(source, target, iterations=3, threshold=0.001)
transfer.execute_from_mesh(mesh, name)
transfer.execute_from_blend_shape()
Display UI:
import transfer_blend_shape.gui
transfer_blend_shape.gui.show()
Note
This tool requires numpy and scipy to be installed to your environment. Using linux or Maya 2022+ on windows this can be done via a simple pip install. For older windows versions a custom version will have to be compiled against the correct VS version.
Example images are generated using the MetaHuman exports for the source/target base and source jaw open shape. Target jaw open is generated using the tool.